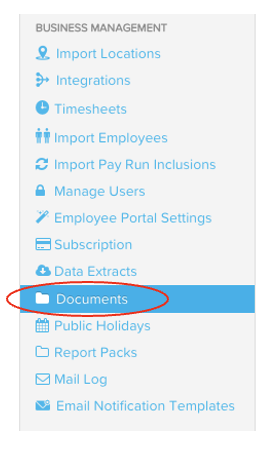
From Payroll Settings, navigate to Business Management and then click Documents
Click Upload Documents

A window will pop out with the following tabs
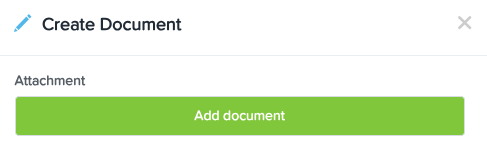
Click Add Document; From here, choose the document you want to upload from your drive
Once attached, you will be given the following options:
The document may be private
Visible to all employees
Visible to Employee Groups - In here, you may select the different Employee Groups you have created
You may also tick or untick Requires employee acknowledgement
Send notification to employee - you may choose immediately or on a specified date
Send notification reminder every x number of days

Once saved, the document will now appear in the list as below:
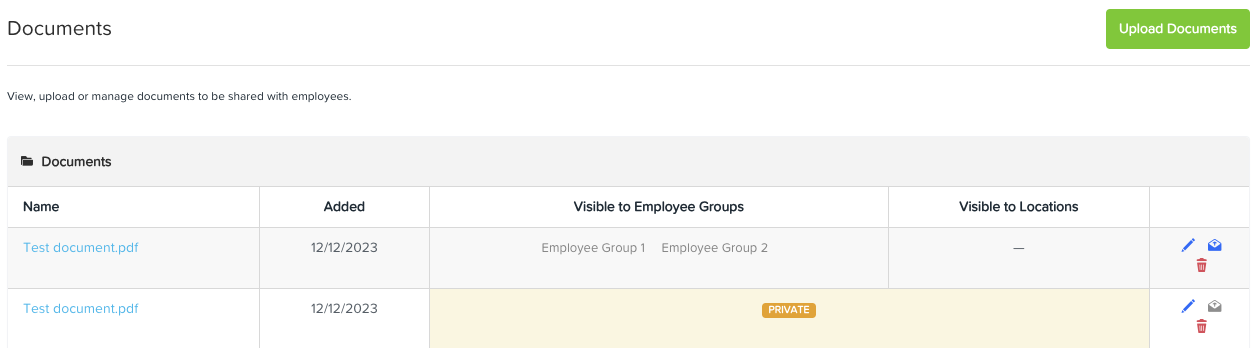
To make changes of the document (audience, notifications. etc), just click on the pencil icon and then save. See article Employee Groups on how to create/manage specific audience in Ezipay.